> ## Documentation Index
> Fetch the complete documentation index at: https://trigger-docs-max-duration.mintlify.site/llms.txt
> Use this file to discover all available pages before exploring further.
# Environment Variables
> Any environment variables used in your tasks need to be added so the deployed code will run successfully.
An environment variable in Node.js is accessed in your code using `process.env.MY_ENV_VAR`.
We deploy your tasks and scale them up and down when they are triggered. So any environment variables you use in your tasks need to accessible to us so your code will run successfully.
## In the dashboard
### Setting environment variables
In the sidebar select the "Environment Variables" page, then press the "New environment variable"
button. 
You can add values for your local dev environment, staging and prod. 
Specifying Dev values is optional. They will be overriden by values in your .env file when running
locally.
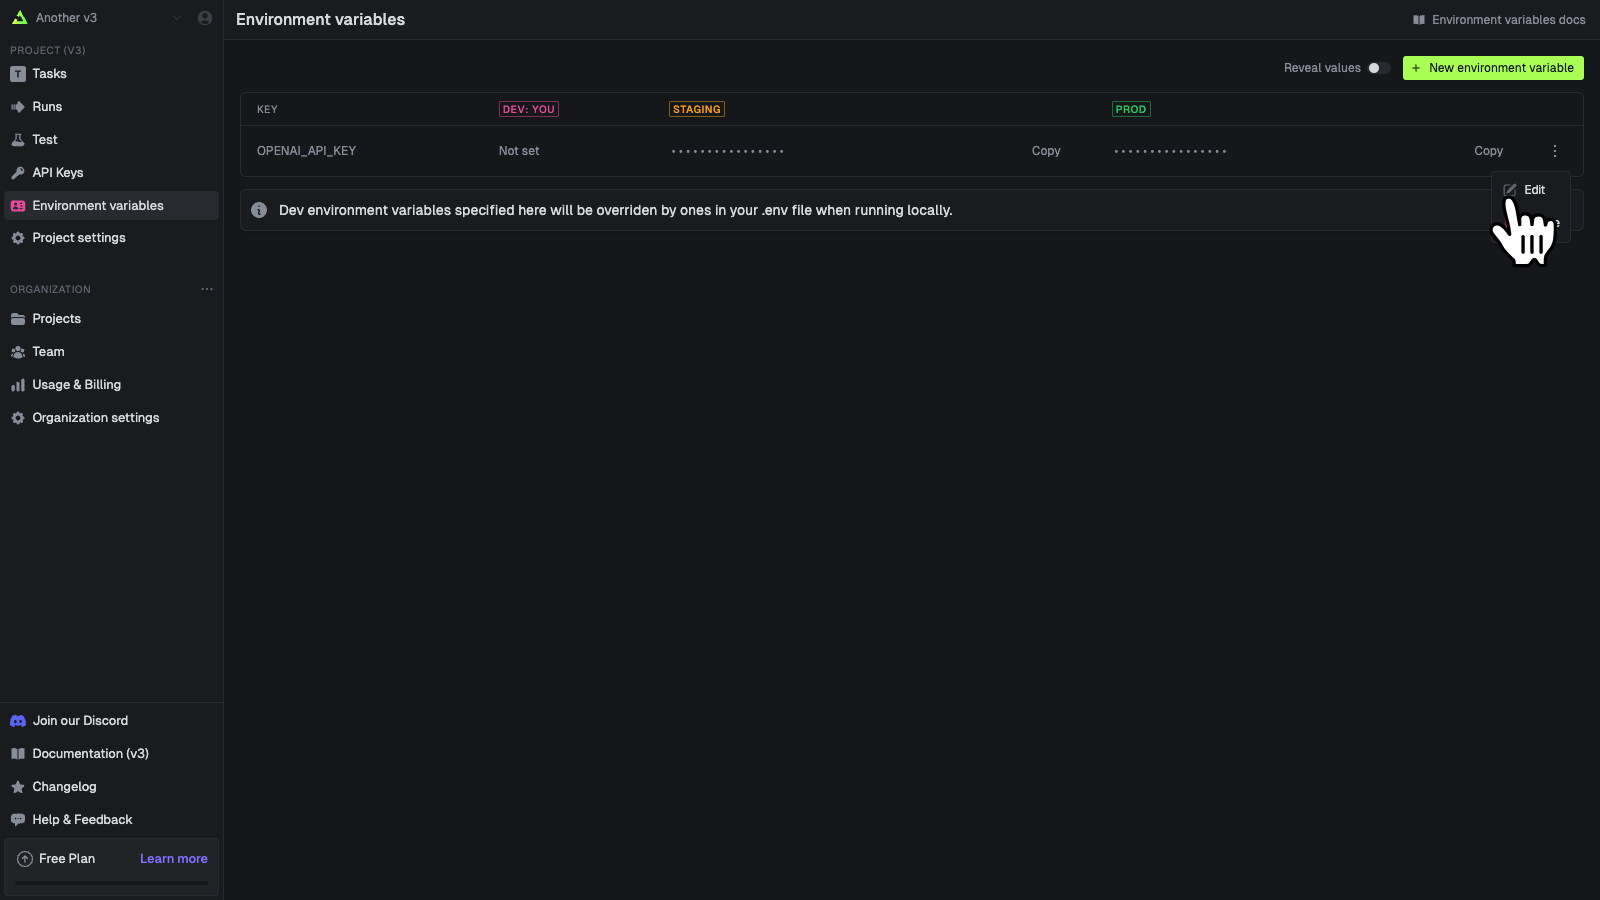
### Editing environment variables
You can edit an environment variable's values. You cannot edit the key name, you must delete and create a new one.

### Deleting environment variables
Environment variables are fetched and injected before a runs begins. So if you delete one you can
cause runs to fail that are expecting variables to be set.

This will immediately delete the variable. 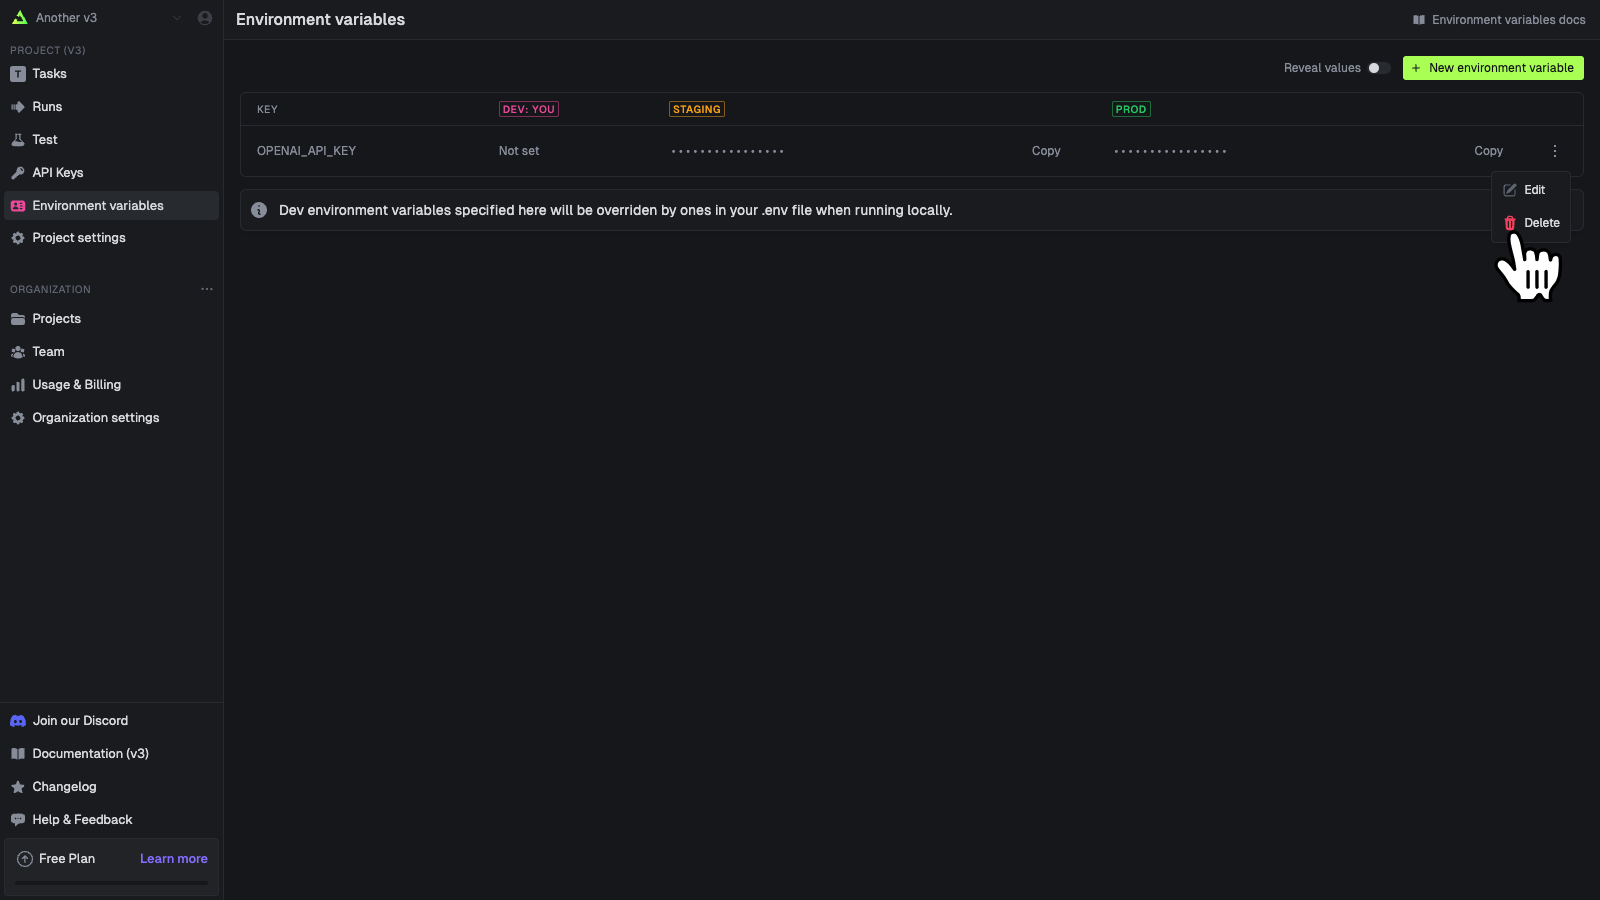
## In your code
You can use our SDK to get and manipulate environment variables. You can also easily sync environment variables from another service into Trigger.dev.
### Directly manipulating environment variables
We have a complete set of SDK functions (and REST API) you can use to directly manipulate environment variables.
| Function | Description |
| -------------------------------------------------- | ----------------------------------------------------------- |
| [envvars.list()](/management/envvars/list) | List all environment variables |
| [envvars.upload()](/management/envvars/import) | Upload multiple env vars. You can override existing values. |
| [envvars.create()](/management/envvars/create) | Create a new environment variable |
| [envvars.retrieve()](/management/envvars/retrieve) | Retrieve an environment variable |
| [envvars.update()](/management/envvars/update) | Update a single environment variable |
| [envvars.del()](/management/envvars/delete) | Delete a single environment variable |
### Sync env vars from another service
You could use the SDK functions above but it's much easier to use our `syncEnvVars` build extension in your `trigger.config` file.
To use the `syncEnvVars` build extension, you should first install the `@trigger.dev/build`
package into your devDependencies.
In this example we're using env vars from [Infisical](https://infisical.com).
```ts trigger.config.ts
import { defineConfig } from "@trigger.dev/sdk/v3";
import { syncEnvVars } from "@trigger.dev/build/extensions/core";
import { InfisicalClient } from "@infisical/sdk";
export default defineConfig({
build: {
extensions: [
syncEnvVars(async (ctx) => {
const client = new InfisicalClient({
clientId: process.env.INFISICAL_CLIENT_ID,
clientSecret: process.env.INFISICAL_CLIENT_SECRET,
});
const secrets = await client.listSecrets({
environment: ctx.environment,
projectId: process.env.INFISICAL_PROJECT_ID!,
});
return secrets.map((secret) => ({
name: secret.secretKey,
value: secret.secretValue,
}));
}),
],
},
});
```
#### Deploy
When you run the [CLI deploy command](/cli-deploy) directly or using [GitHub Actions](/github-actions) it will sync the environment variables from [Infisical](https://infisical.com) to Trigger.dev. This means they'll appear on the Environment Variables page so you can confirm that it's worked.
This means that you need to redeploy your Trigger.dev tasks if you change the environment variables in [Infisical](https://infisical.com).
The `process.env.INFISICAL_CLIENT_ID`, `process.env.INFISICAL_CLIENT_SECRET` and
`process.env.INFISICAL_PROJECT_ID` will need to be supplied to the `deploy` CLI command. You can
do this via the `--env-file .env` flag or by setting them as environment variables in your
terminal.
#### Dev
`syncEnvVars` does not have any effect when running the `dev` command locally. If you want to inject environment variables from another service into your local environment you can do so via a `.env` file or just supplying them as environment variables in your terminal. Most services will have a CLI tool that allows you to run a command with environment variables set:
```sh
infisical run -- npx trigger.dev@latest dev
```
Any environment variables set in the CLI command will be available to your local Trigger.dev tasks.
### The syncEnvVars callback return type
You can return env vars as an object with string keys and values, or an array of names + values.
```ts
return {
MY_ENV_VAR: "my value",
MY_OTHER_ENV_VAR: "my other value",
};
```
or
```ts
return [
{
name: "MY_ENV_VAR",
value: "my value",
},
{
name: "MY_OTHER_ENV_VAR",
value: "my other value",
},
];
```
This should mean that for most secret services you won't need to convert the data into a different format.
### Using Google credential JSON files
Securely pass a Google credential JSON file to your Trigger.dev task using environment variables.
In your terminal, run the following command and copy the resulting base64 string:
```
base64 path/to/your/service-account-file.json
```
Follow [these steps](/deploy-environment-variables) to set a new environment variable using the base64 string as the value.
```
GOOGLE_CREDENTIALS_BASE64=""
```
Add the following code to your Trigger.dev task:
```ts
import { google } from "googleapis";
const credentials = JSON.parse(
Buffer.from(process.env.GOOGLE_CREDENTIALS_BASE64, "base64").toString("utf8")
);
const auth = new google.auth.GoogleAuth({
credentials,
scopes: ["https://www.googleapis.com/auth/cloud-platform"],
});
const client = await auth.getClient();
```
You can now use the `client` object to make authenticated requests to Google APIs